CLEAR THE WAY: How to Declutter Before Your Interior Designer Arrives
- ZuzanaZvalova
- Aug 2, 2025
- 2 min read
Updated: Sep 10, 2025
A guide to creating a space for the home you dream of living in.

It is said that a clear space means a clear mind. Decluttering before you take on renovation or re-design allows you to see your space clearly and emotionally prepare for the transformation. The process itself, however, can be daunting. This guide walks you through how to sort, assess, and clear your home with intention.
Step 1: Set the Mood (and the Intention)
What do I want this space to feel like when I walk in?
Am I holding onto things that don’t reflect who I’m becoming?
What do I want to make room for in my life and home?
How do I want this space to function?
How do I see myself spending time in this space?
Do I need to create more storage for things close to heart?
Step 2: Create Sorting Categories
Label 7 boxes, bags or piles:
Keep with Purpose – Items you love, use, or need in your redesigned space
Donate – Gently used items that no longer serve you, but can help others
Pass to Family or Friends – Sentimental pieces that belong with others
Sell - Valuable items that you have no use for can be turn to cash towards your renovation
Toss or Recycle – Broken, expired, or irrelevant clutter
Frame or Highlight – Photos, art, and mementos worth showcasing
Renew or Reuse – Furniture, frames, or textiles that can be updated
Self-storage is a great middle ground. It allows you to get rid of stuff without actually getting rid of it. You’ll have round-the-clock access, and your possessions will be safe and secure, but you don’t lose the valuable living space in your home. It’s a win-win situation!
Step 3: Use the “Clear with Clarity” Method
Ask these questions for each item:
Do I use it regularly?
Would I buy it again today?
Does it support the future I want to live in?
Does this belong in the story I’m creating now?
If the answer is no, it's time to release it.
Step 4: Room-by-Room Decluttering Guide
Download my room-by-room Decluttering Guide here (coming soon)
Step 5: Frame It or Let It Go
Before you bring in new art or photos:
Curate family photos or kids’ art for a gallery wall
Choose 2–3 pieces that hold strong emotional value
Consider scanning old photos and storing them digitally, or create a book
Frame maps, letters, or fabric for unique wall art
Step 6: Renew & Reuse
Before buying new:
Could you reupholster that chair instead of replacing it?
Can an old dresser be painted or given new hardware?
Could grandma’s teacups be used for jewelry storage?
Could the furniture be used in a different room?
Can the old curtains be turned into accent pillow cases?
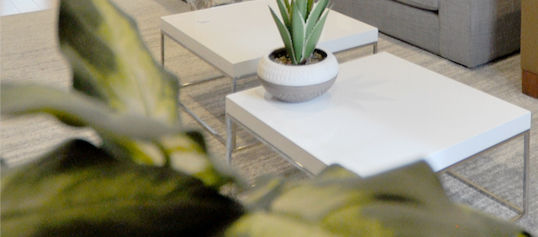
Step 7: Invite the Designer into a Clear, Aligned Home
When you're done, your home should feel:
Lighter
More focused
Rooted in your current season of life
Now your designer can see what's possible, and so can you. Your home will reflect the next version of you.
Comments